
If you’re living a grain and gluten free lifestyle, there has probably been a time or two that you’ve found yourself craving the comfort of a sandwich. I know I have, but I also know that most gluten free breads are made from grains, and if you happen to stumble across one that isn’t, it typically has eggs in it, which may or may not be a problem for you. If this sounds like you, let me fill you in on cassava.
Cassava, also known as yuca, has been a food mainstay for centuries. While it is not a low carbohydrate root, it is naturally gluten and grain free, and according to the Philippines’ Department of Science and Technology, cassava has a low glycemic index (GI) and is therefore good for diabetics.
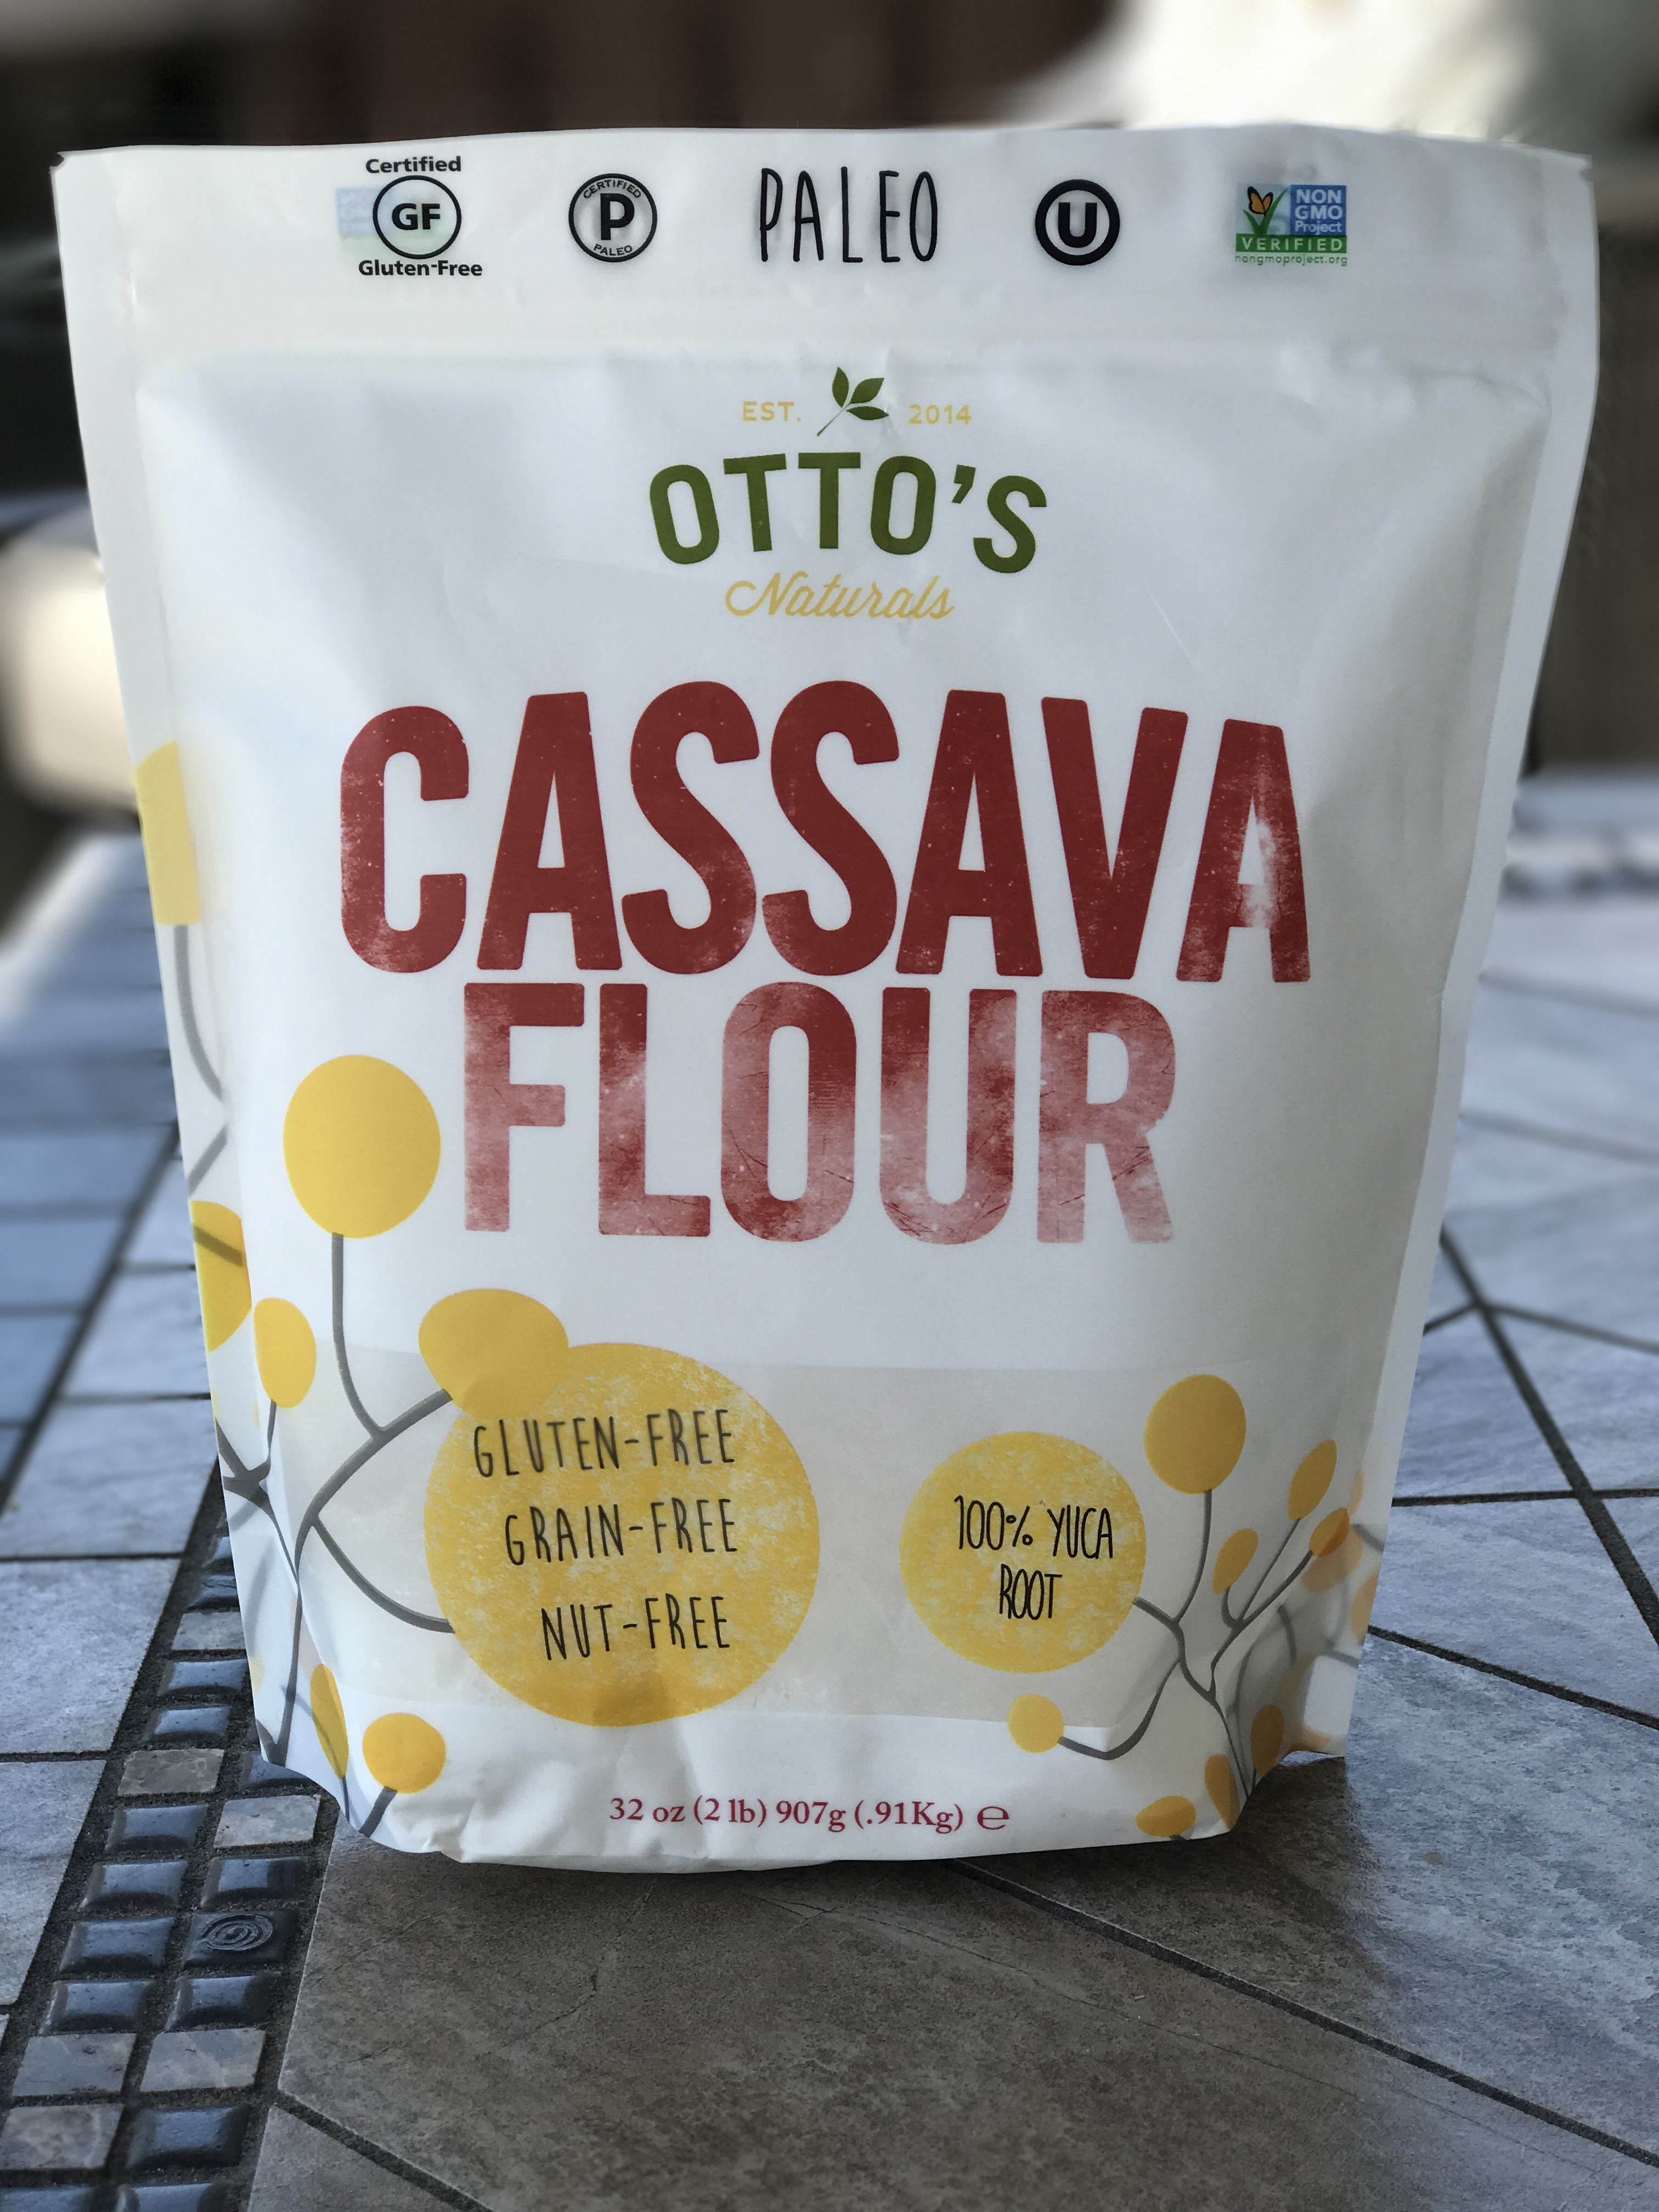
According to Otto’s Naturals, the brand of cassava flour used, cassava has the same taste and texture as wheat, subbing 1:1 in many different recipes. If you have done any gluten free baking whatsoever, you know that most flour subs come with a gritty texture and a bit of experimenting to get the right ratios, but that isn’t the case here. Cassava has a smooth and light texture, and is probably the closest thing I have found to regular flour in terms of gluten free baking.
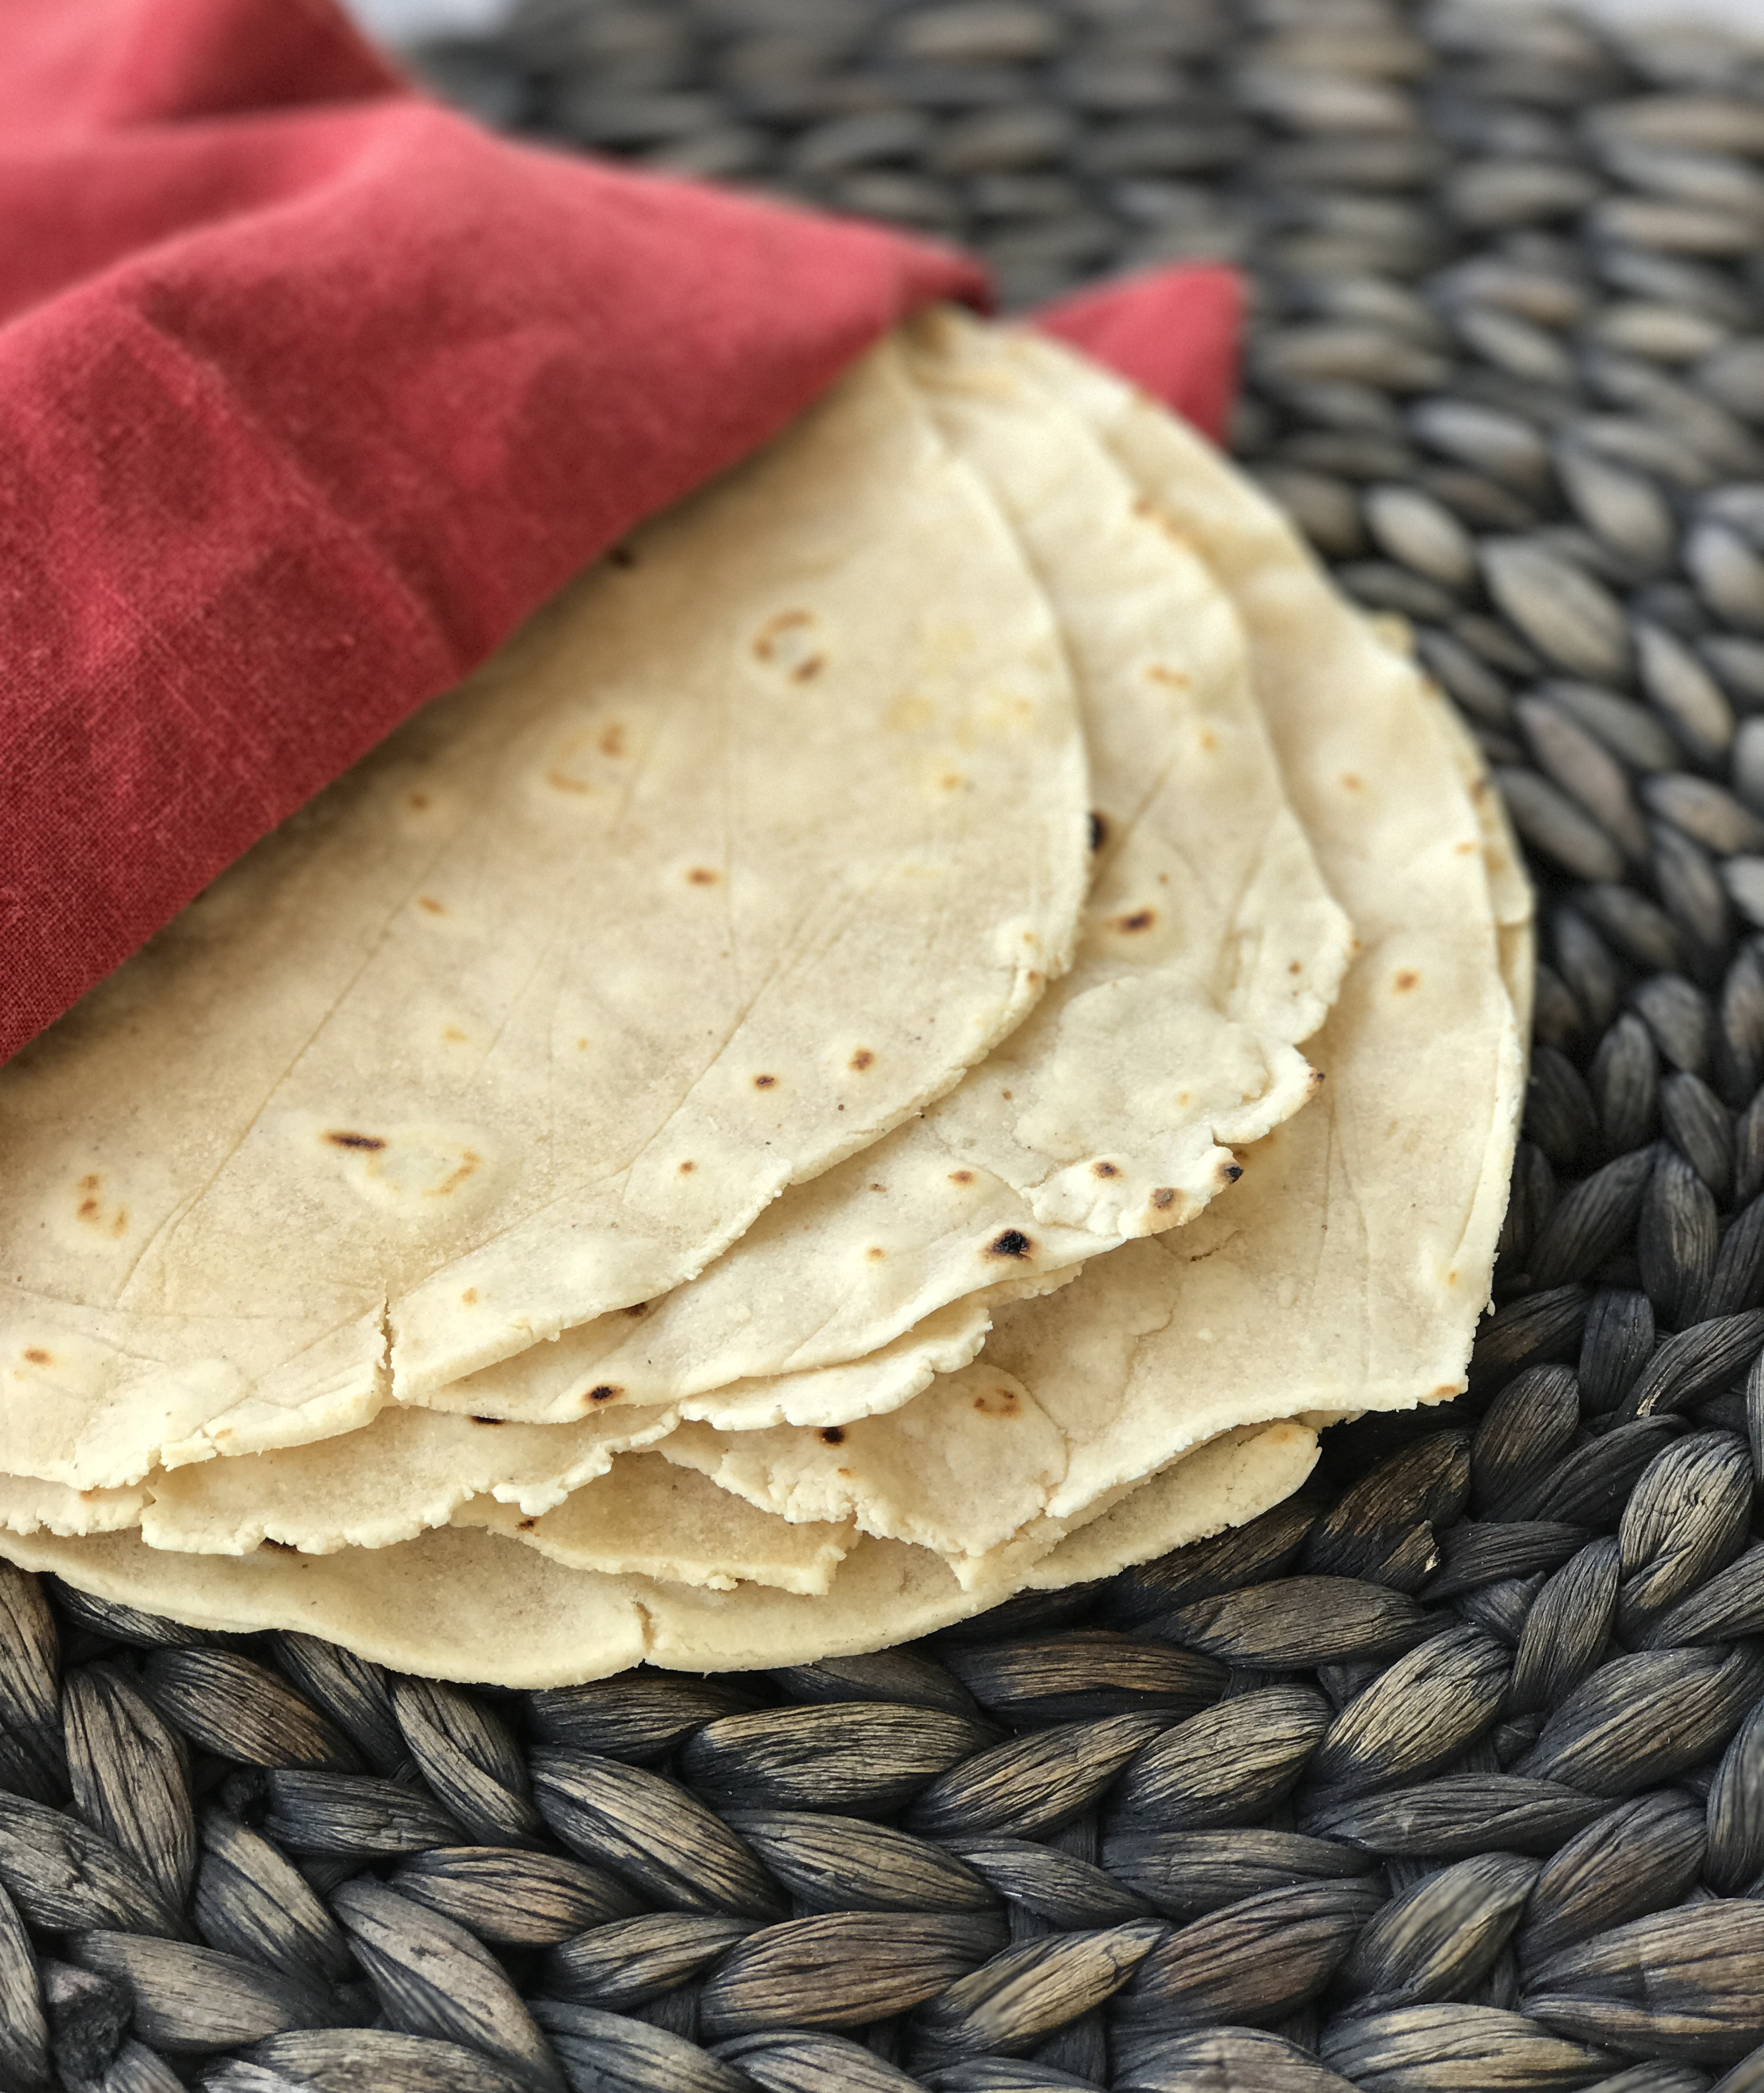
These wraps are soft, pliable and hold up just as good as any flour based wrap, but unlike flour wraps, these wraps are gluten free, nut free, soy free, dairy free, paleo, AIP, and vegan.
What other wraps can say that?
This recipe makes about 4-5 wraps, and can be eaten immediately or stored in the fridge in a ziplock for a few days.
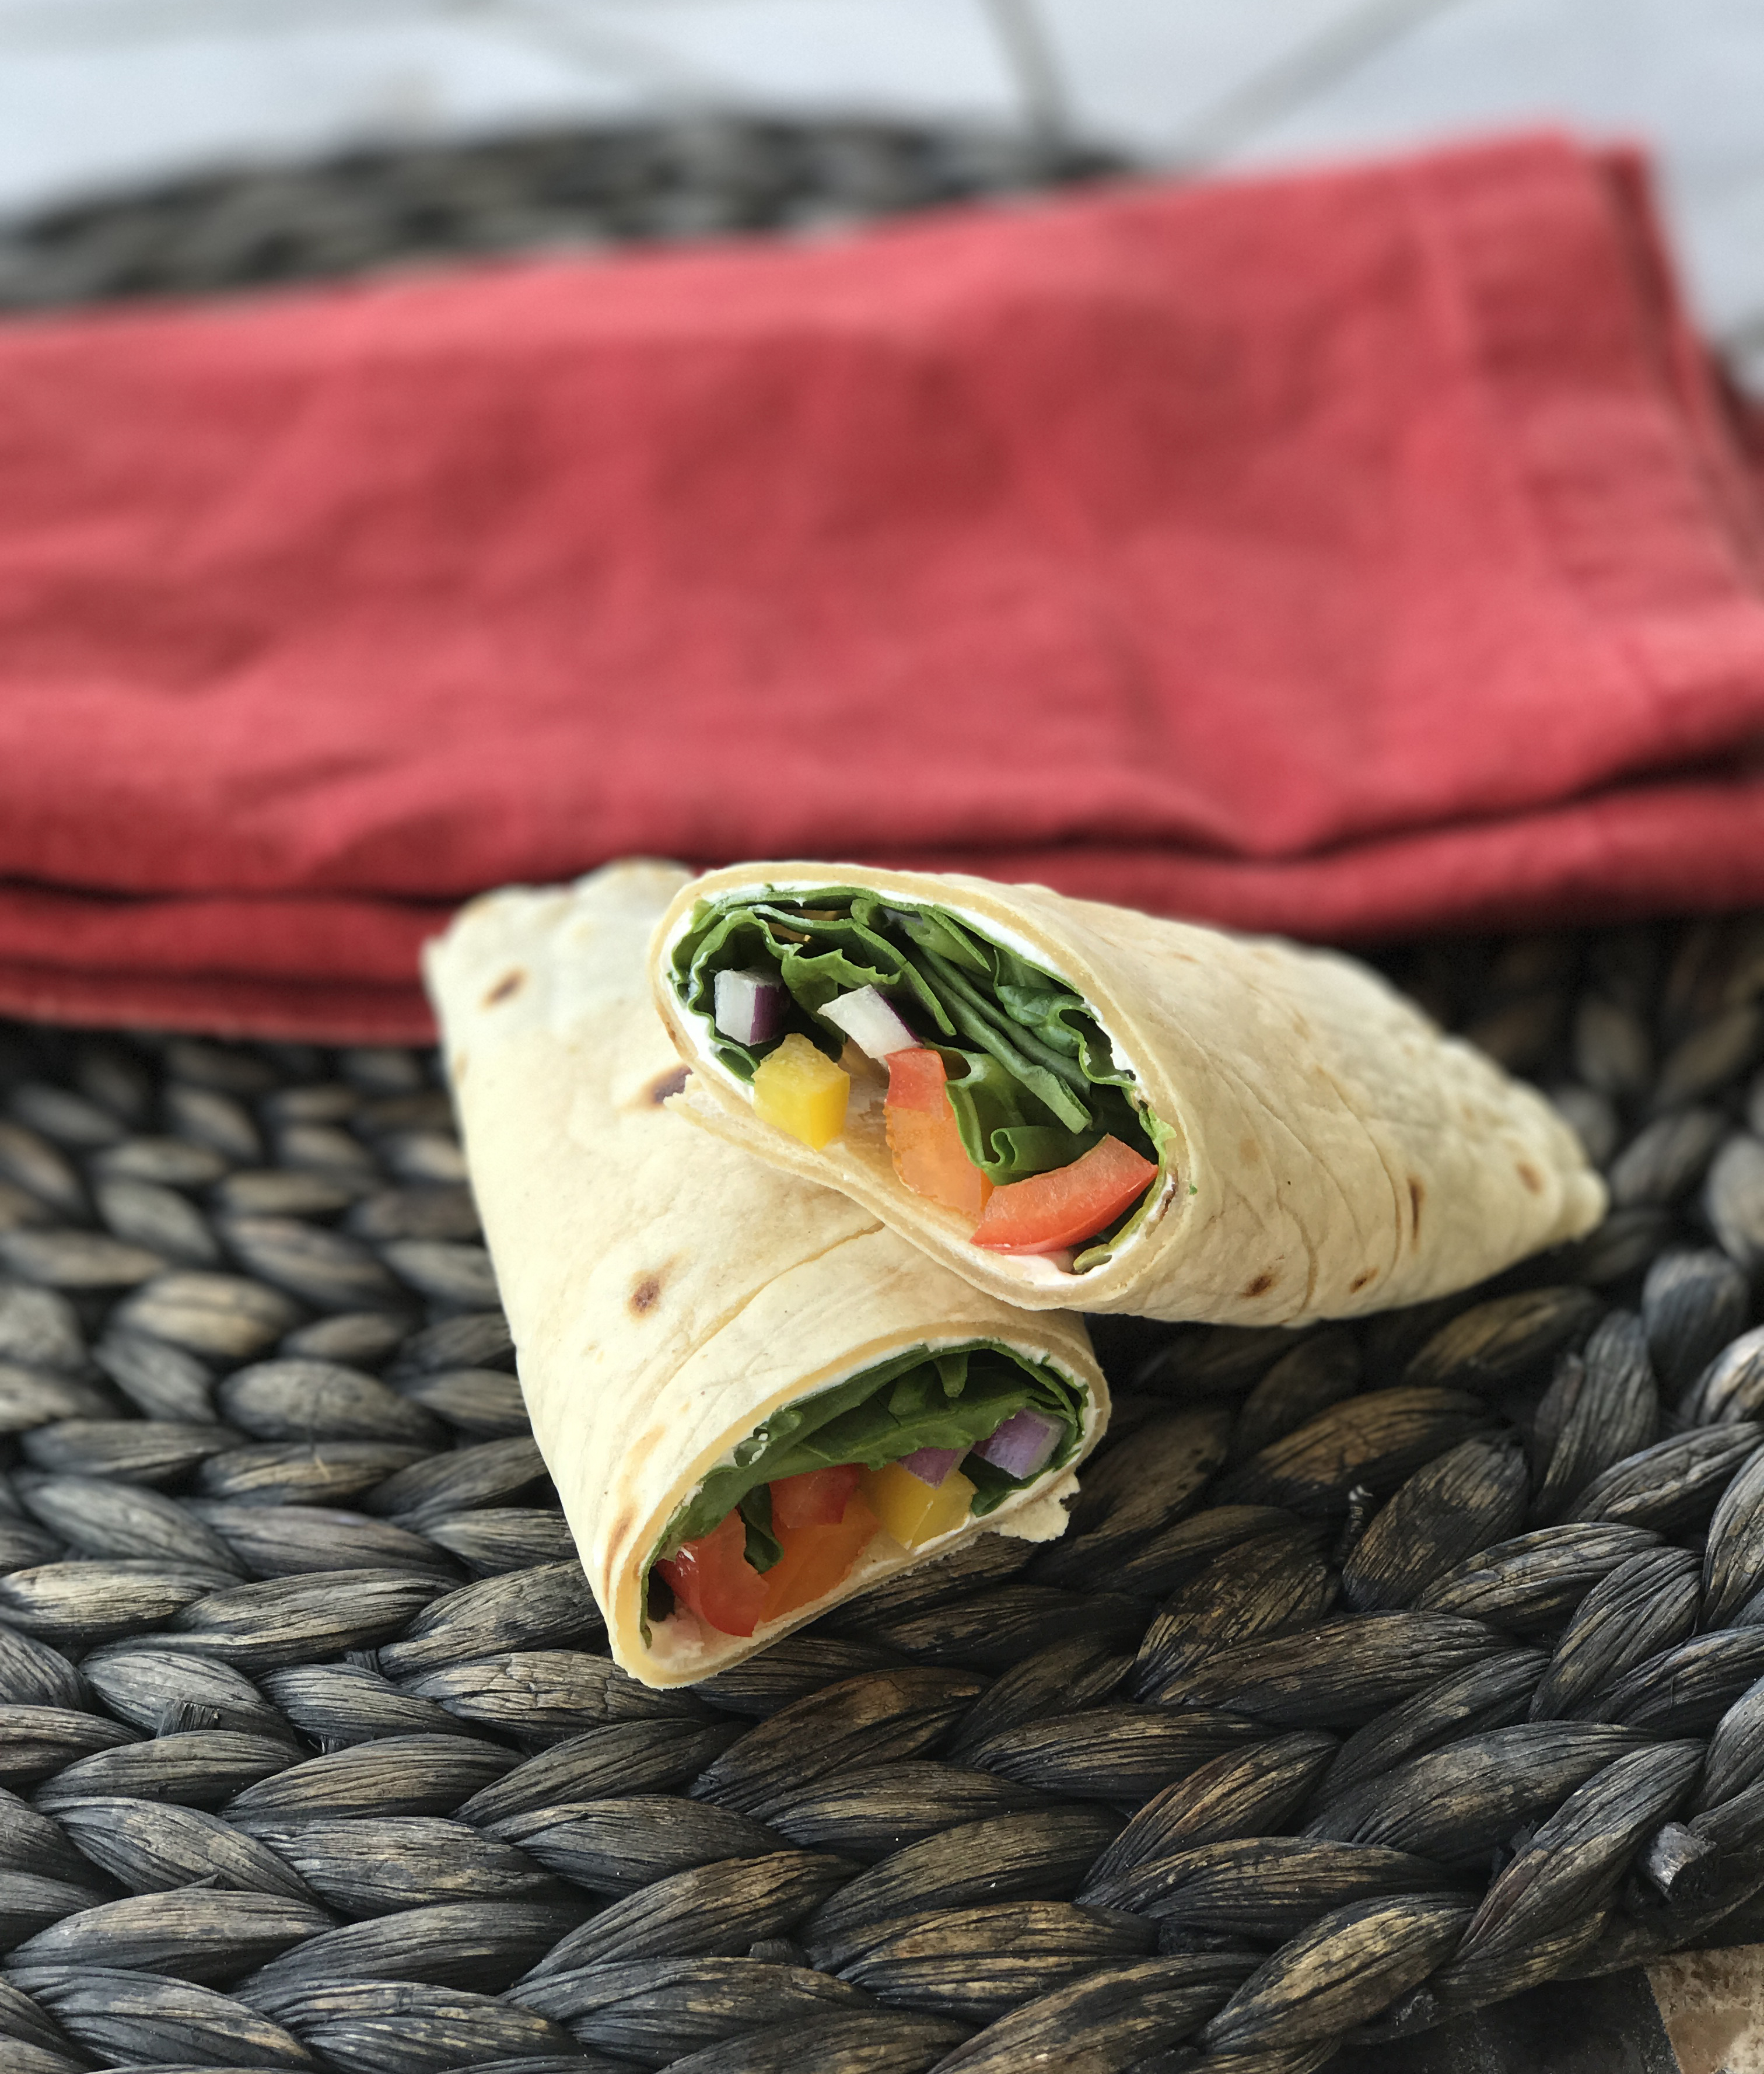
Fill with your favorite sandwich or breakfast fillings, and get back to enjoying the comfort of carbs again.
- 3.5 Tbsp. olive oil
- 1/3 cup + 3 Tbsp. warm water
- 3/4 cup cassava flour (I used Otto’s Naturals brand)
- Dash of pink Himalayan salt
- In a large mixing bowl, whisk together flour and salt.
- In a separate dish, whisk together warm water and olive oil.
- Add the warm water and olive oil into the flour and knead until the dough is smooth. Dough should not be too dry or too wet and sticky.
- Divide dough into 4-5 golf ball sized balls.
- Roll each ball between two pieces of parchment paper until thin. If you want, you can clean up the edges with a pastry cutter, but this isn’t necessary.
- Heat a dry skillet over medium high heat.
- Once heated, place one wrap at a time on the skillet.
- Watch closely for air bubbles to form, and once they do, flip. Each side should be slightly browned.
- Allow wraps to cool on a wire rack before using.
- If storing in the fridge, make sure wraps are completely cool before placing them in a ziplock.